Your farm is the central workspace in Harvest Mate. Everything you do — managing fields, logging jobs, tracking inventory, inviting team members — all happens inside it. This guide walks you through the full setup in under five minutes.
You need a Harvest Mate account. If you don't have one yet, sign up at app.harvest-mate.com/sign-in — the Free plan lets you create a farm right away, no credit card required.
One account can hold multiple farms. Each farm has its own subscription. On the Free plan you can have one farm.
Right after you register, Harvest Mate automatically takes you to the farm creation page. You won't be able to reach the main dashboard until you either create your own farm, or are invited to join someone else's farm as a team member.
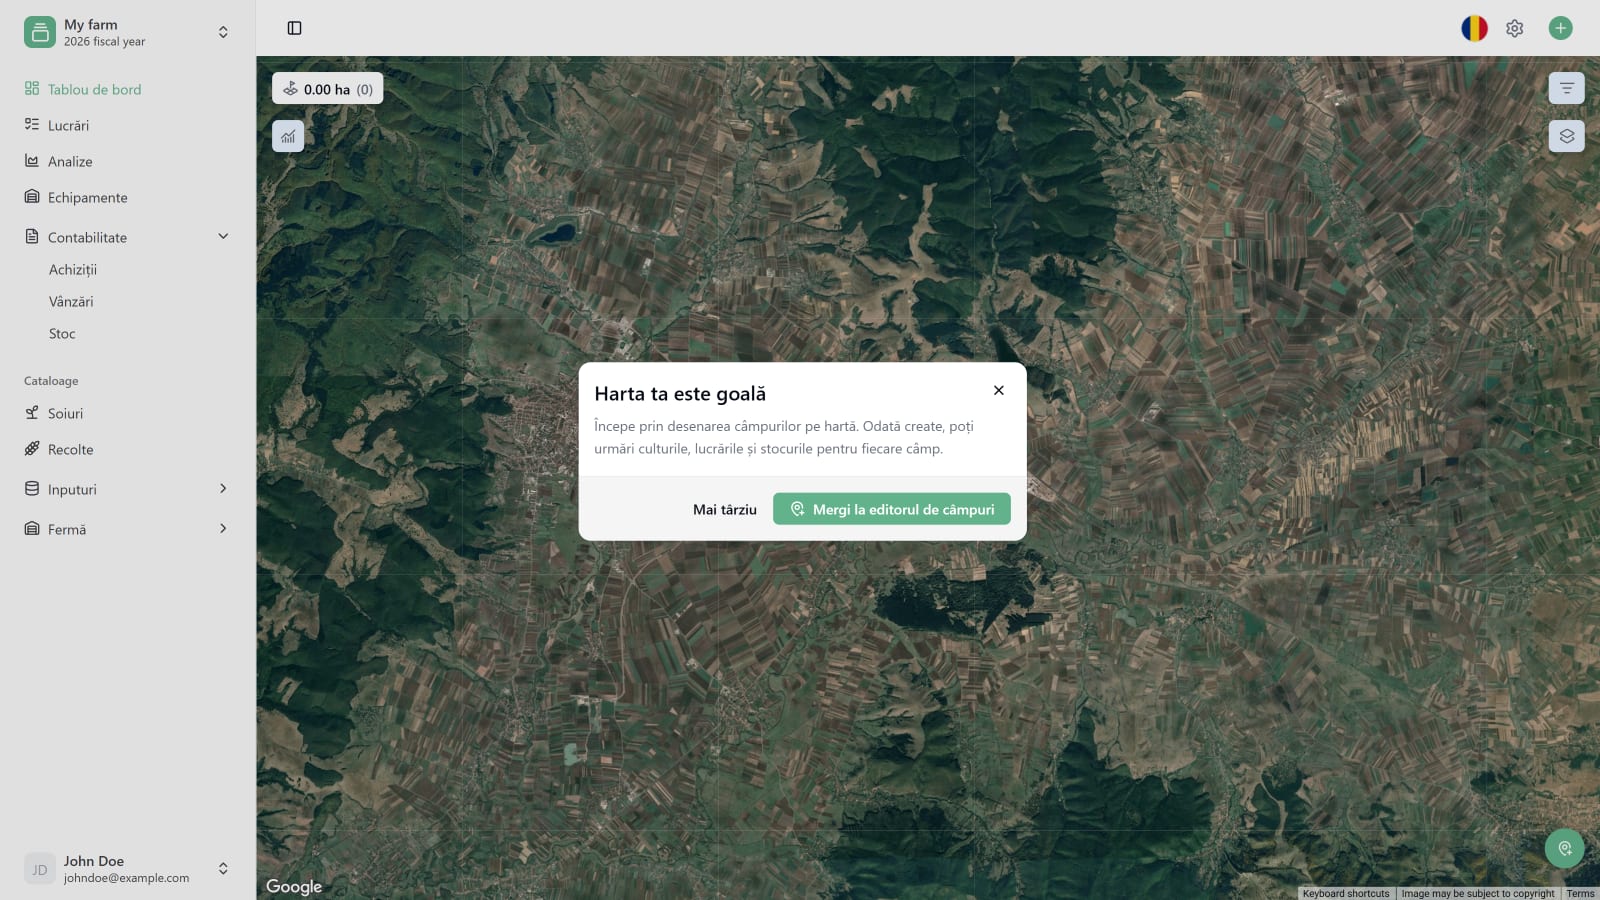
Fill in the three fields on this screen:
Choose your currency carefully. Once the farm is created there is currently no way to change it. If you select the wrong one, contact our support team at contact@harvestmate.app and we will help you sort it out.
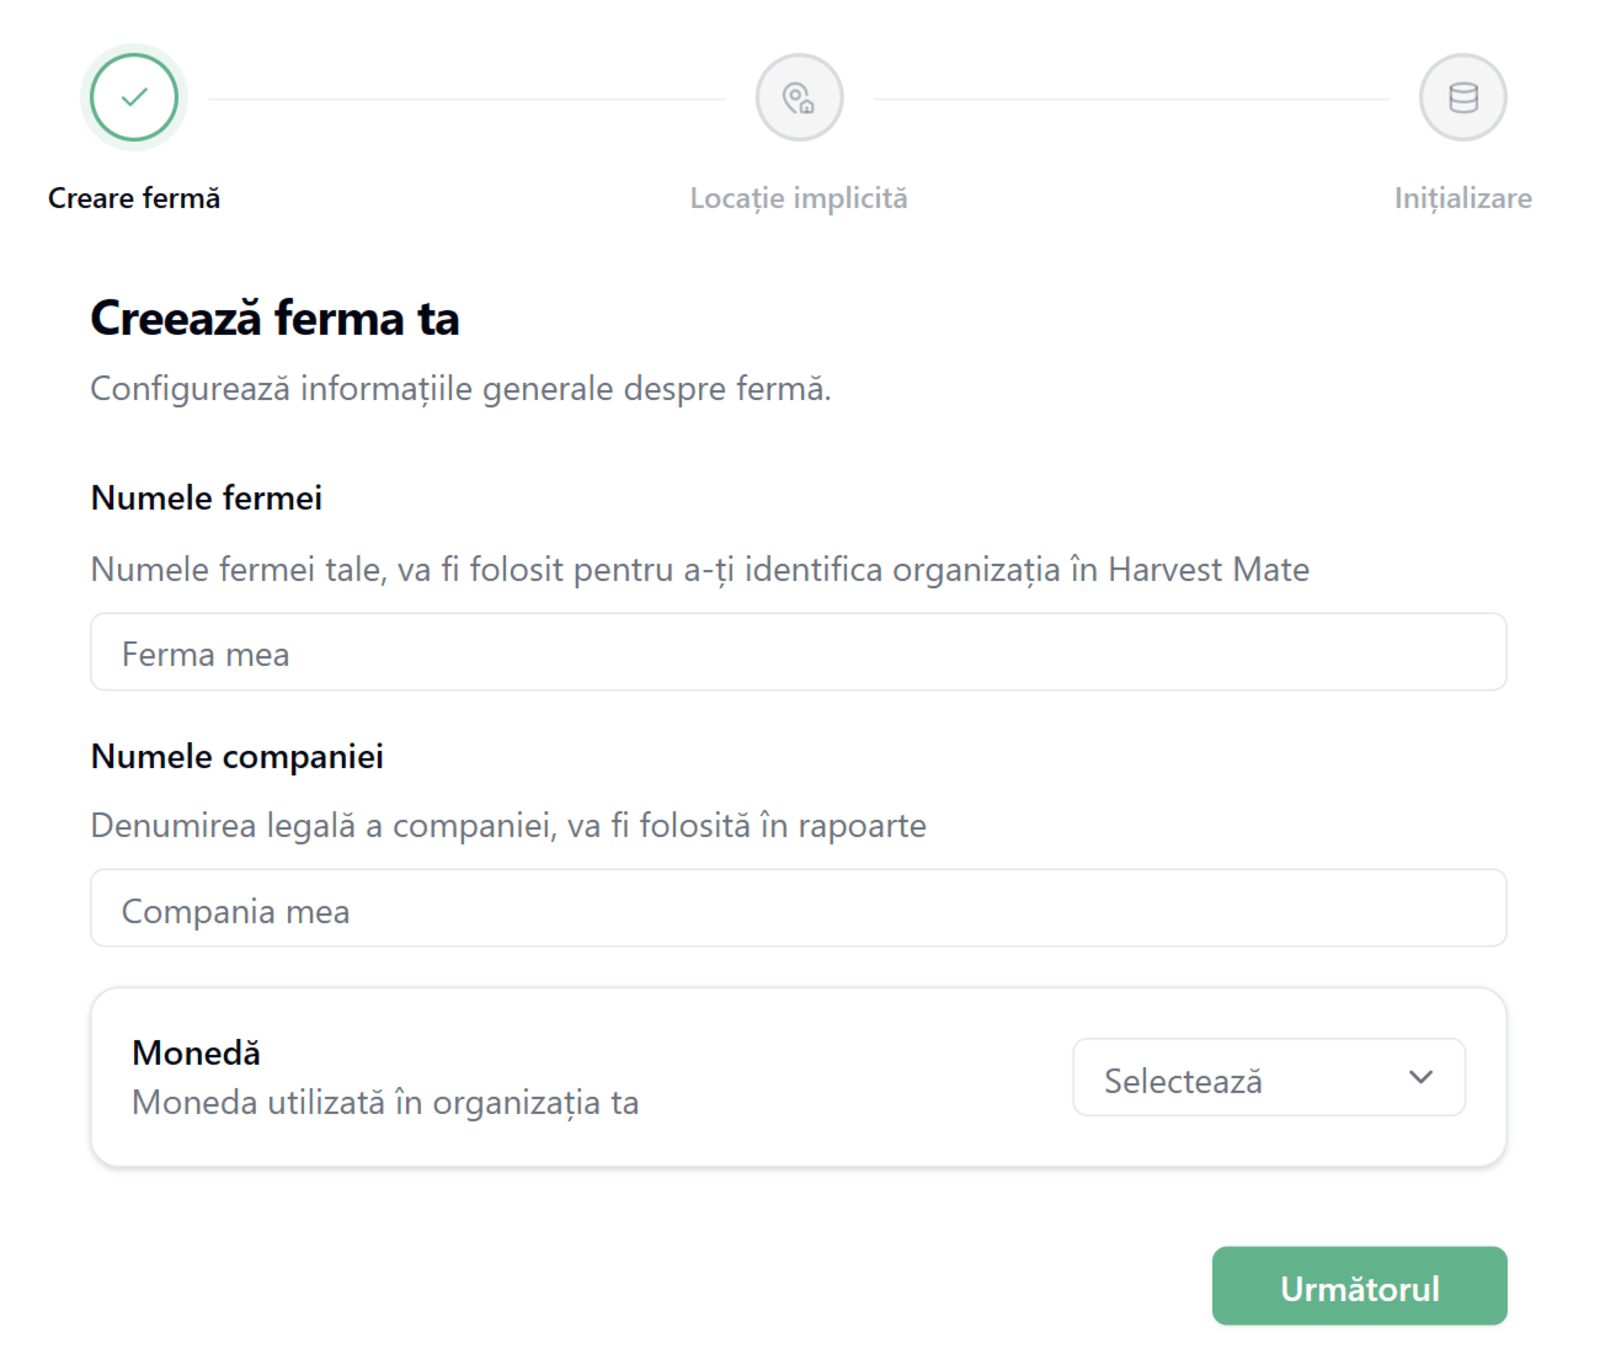
Next you will be asked to set a default map location. This is the position the map will open to every time you launch the app — so choose somewhere close to the centre of your land.
Simply click anywhere on the map to drop a pin. That's it.
You can let the browser detect your location automatically. If the map doesn't centre on you by itself, click the Use current location button at the top of the screen.
You can change this default location at any time later from the farm settings.
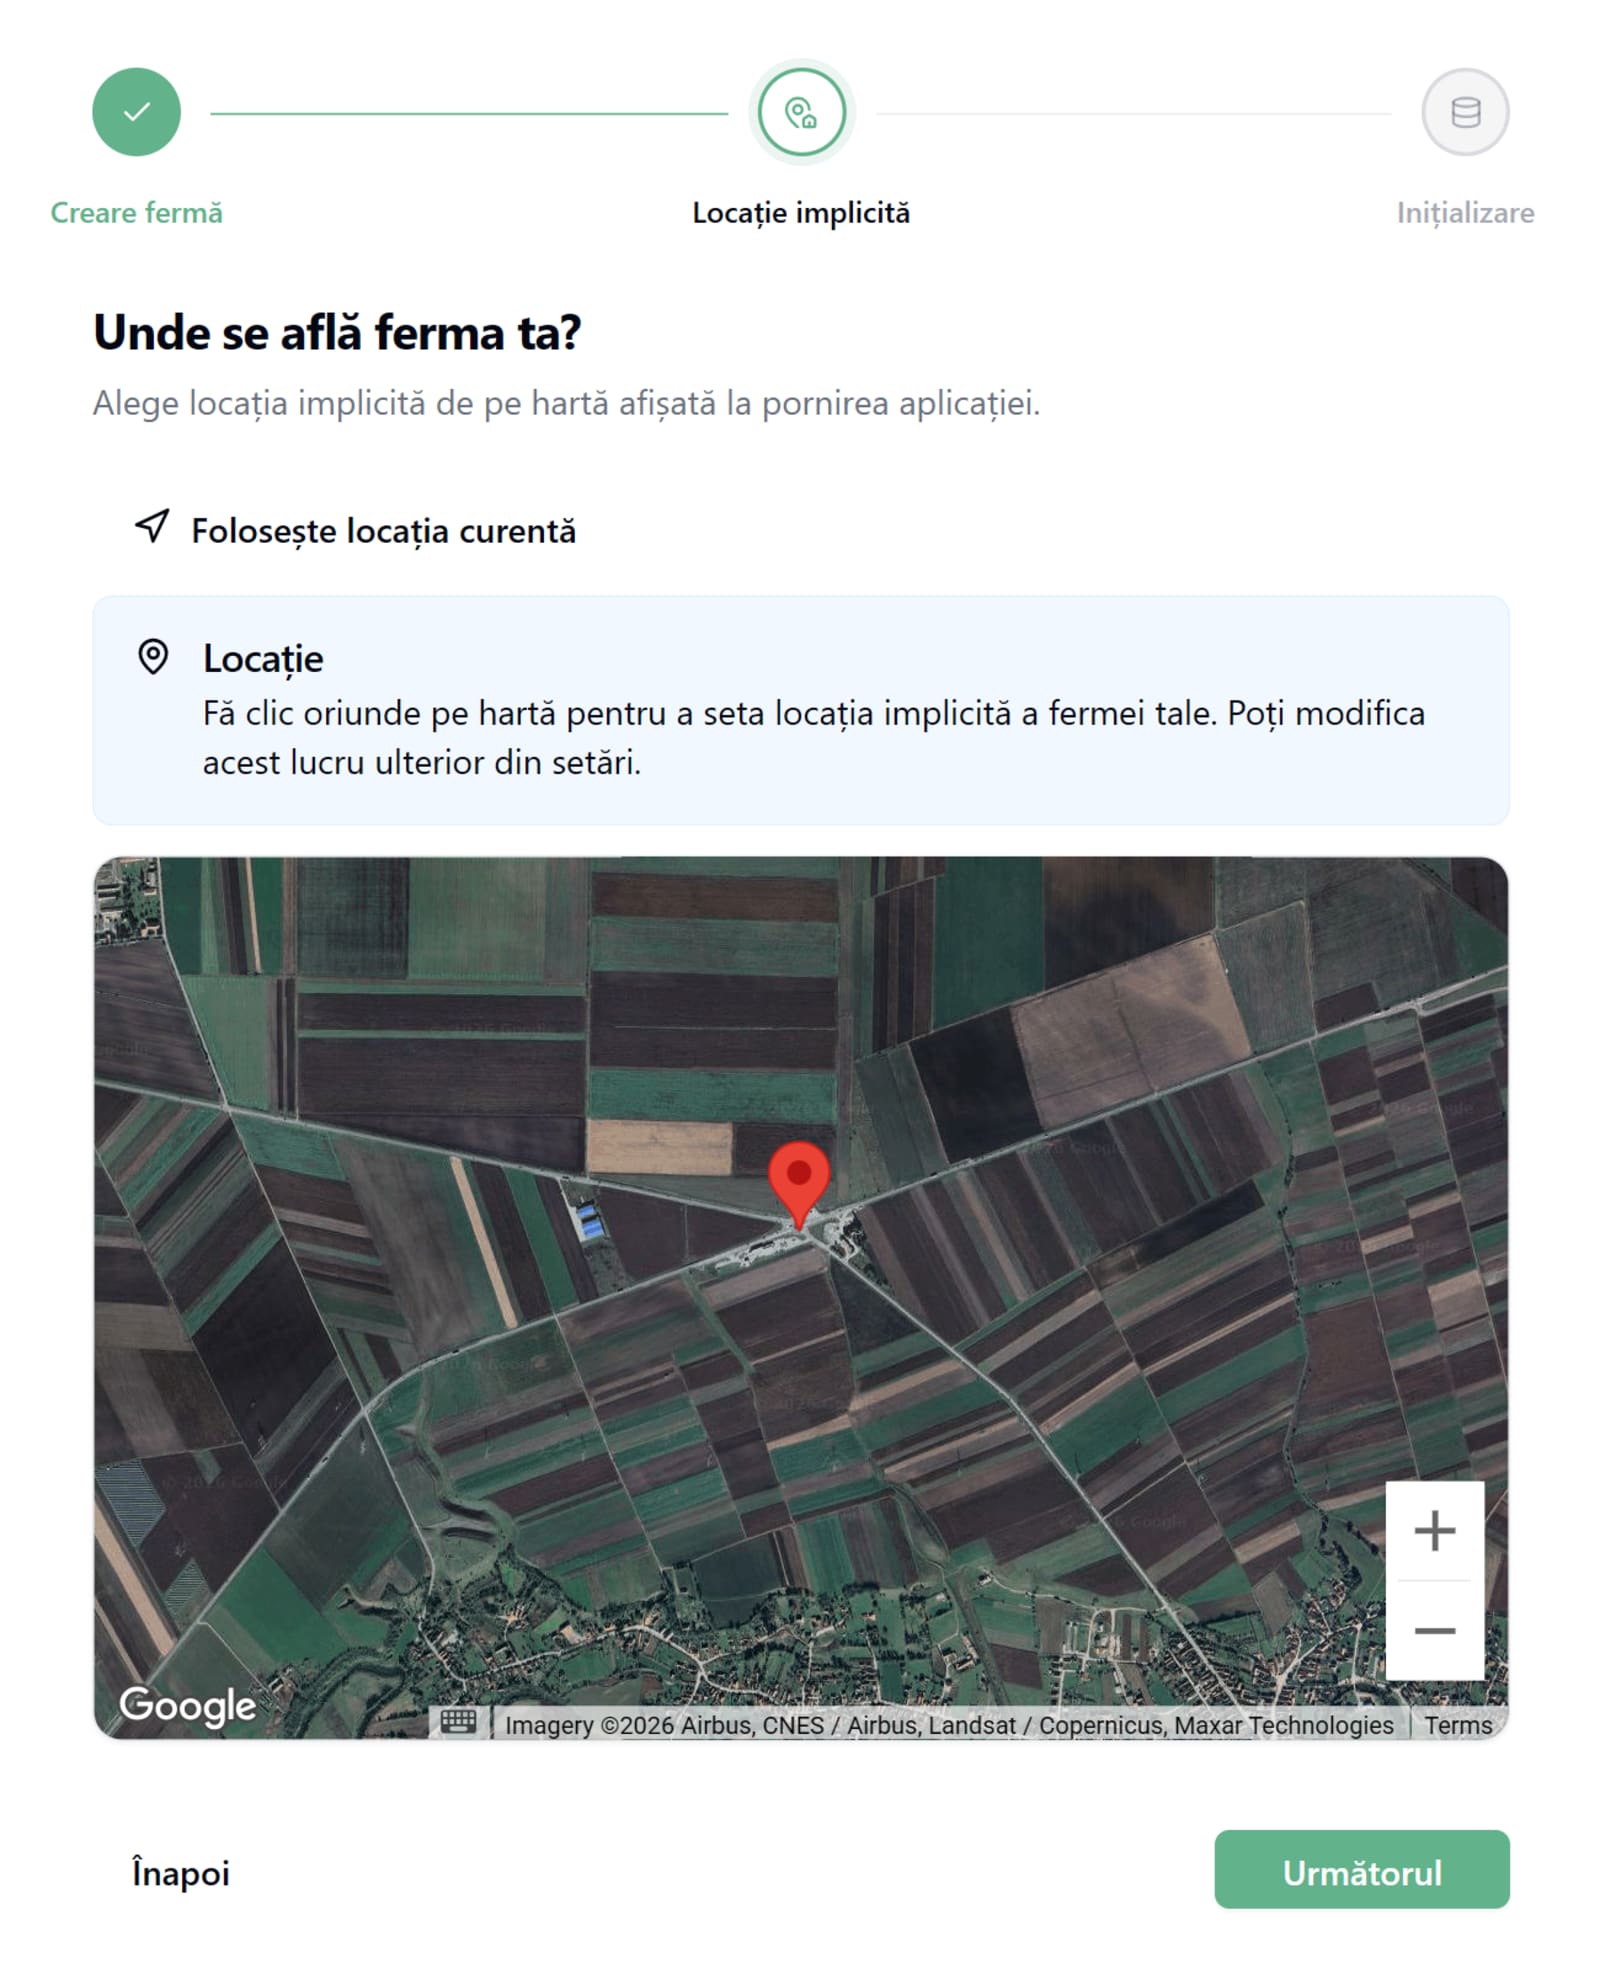
Harvest Mate is fully flexible — you can create and customise every resource in the app: crops, seeds, fertilizers, pesticides, units, categories, and more. Nothing is locked in.
That said, starting with a completely empty system can be daunting. So we've prepared a collection of the most commonly used items that most farms need from day one. In this step you choose the language those items will be created in.
This setting cannot be changed later. Changing the app language in settings only affects the interface — your data keeps the language you choose here. Because these starter items will appear in your exported reports, we strongly recommend choosing the language you use for official paperwork. For farms in Romania, choose Romanian.
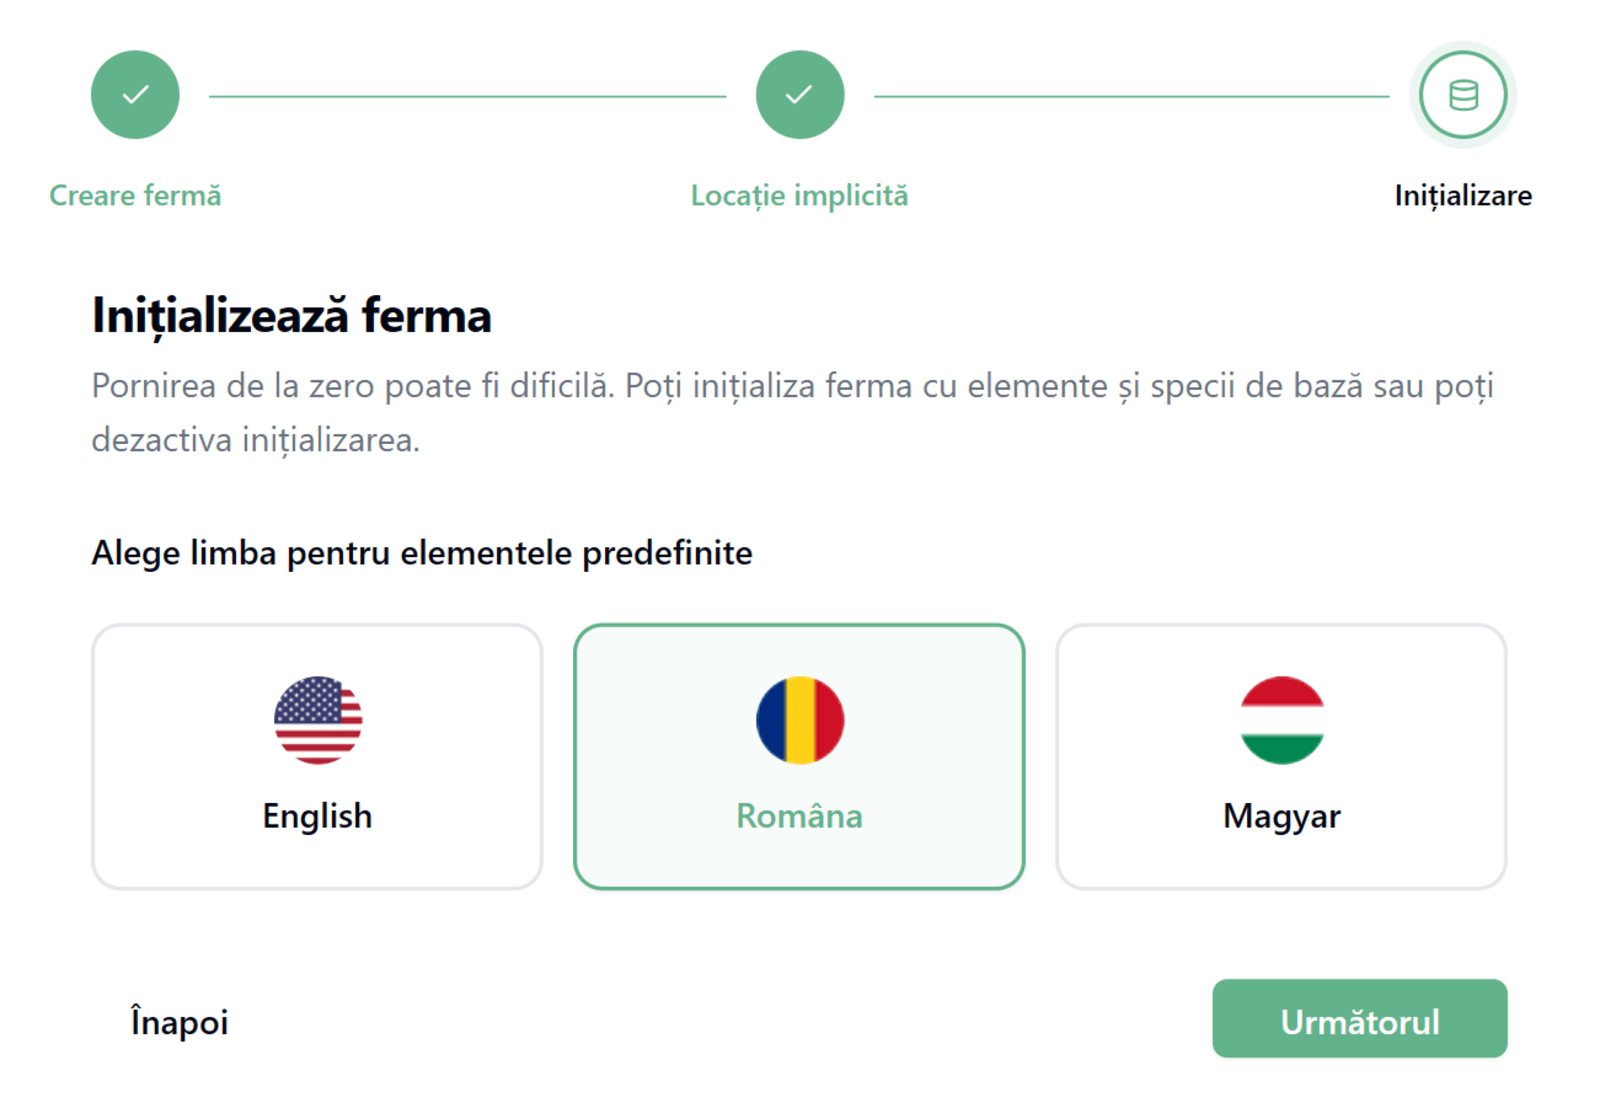
After clicking Next on the last screen, Harvest Mate creates your farm and takes you straight to the dashboard. Your workspace is ready to use.
You'll see an empty map with a prompt to start drawing your fields. That's the natural next step — head to the Add fields guide. Or, if you've already submitted your parcels to the APIA system, the fastest path is to import them directly.